Gladioli in pots
Content:
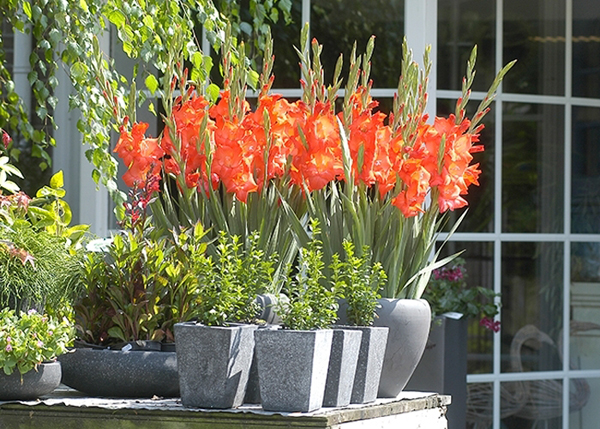
The house and cottage are great places to create beautiful flower arrangements, including gladioli. It is important, however, to pay attention to how they should be looked after, and following simple rules, gladioli in pots will look great.
Features of the root system of gladiolus
The root system of gladioli is very powerful. It goes deep into the ground, so they were not considered indoor flowers before. Later, breeders bred smaller species that can be grown at home.

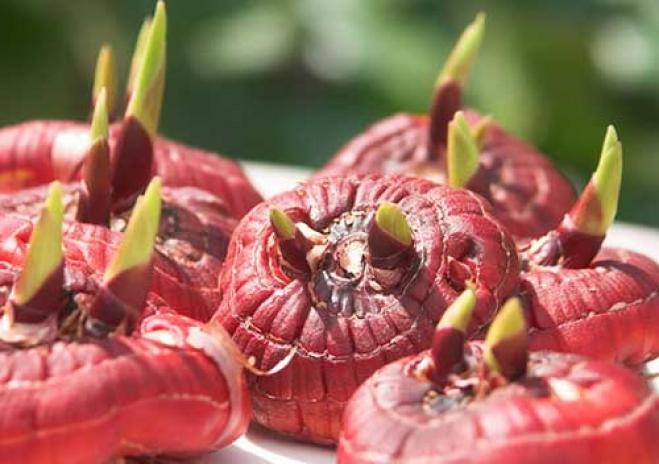
How it looks
For planting, you need to choose healthy and undamaged corms. Suitable bulbs for planting are those with a diameter of 3-5 cm. They need to be placed at a depth of at least 10 cm. Proper plant care will help them emerge in about two weeks.
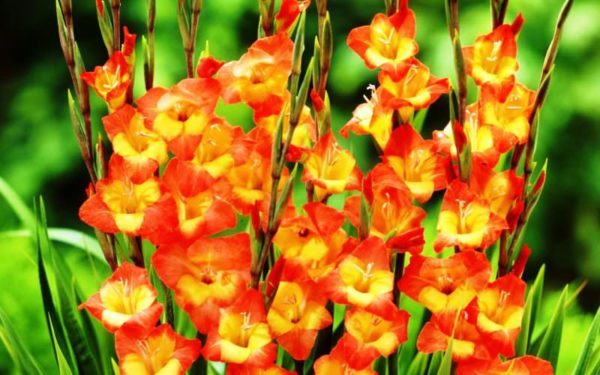
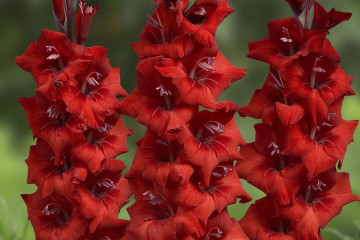
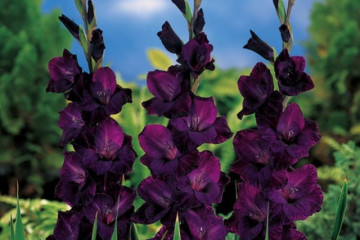
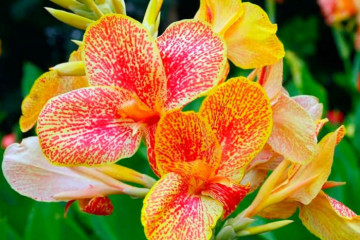
How it blooms
Varieties of pots
To grow gladioli, ceramic, clay and plastic pots are used. The main thing is that the diameter is at least 30 cm, and the depth is 40 cm or more. Flowerpots and pots fit perfectly into home interiors, and pots and containers are more suitable for a garden composition.
The planter can be used as a decorative element, but you cannot plant flowers directly into it. For the growth of gladioli, drainage holes are needed, which are not in the hanging pot. However, gladioli in a pots look beautiful, you can insert a regular pot into it.
Flowerpot prices vary according to material, size and appearance. Plastic options are the most budgetary, and among the expensive ones, designer ones are in great demand. They can be made of different materials, made by hand and even according to the customer's sketches.
Planting gladioli in flowerpots on the street is also possible in special pots. They are made of materials that are more resistant to weather conditions. Some of them have a handle and can be hung on the balcony.
Pot options
Pot and flower compatibility
Even miniature types of gladioli have a branched root system, you should take this into account when choosing a pot for planting. It should be wide and deep. You can start with 6 liters, or even better with 10 liters.
Pots must have drainage holes, since gladioli do not tolerate high humidity. Before planting, a drainage layer of pebbles or broken cuttings is laid on the bottom. A nutritious substrate is poured on top. Gladiolus prefers loose, moisture-consuming soil with a high humus content.
Before transplanting a plant, you need to consider the reason for the transplant. If the root system is partially damaged and it will have to be reduced, then you can take a pot with a smaller diameter than it was before. In general, frequent transplantation to gladioli is not recommended; it should be carried out only in rare cases, when this is the only condition for the survival of the flower.
When choosing a pot, it is important to remember that gladiolus does not tolerate excessive moisture, so ceramic is best suited. Avoid using wooden pots for these flowers, because wood holds moisture for too long.
Plastic pots are best for planting gladioli outdoors. They are the most unpretentious, easily tolerate different weather conditions.
DIY pot
Gladioli in flowerpots or handmade pots are especially pleasing to the eye.
Large ceramic, clay and plastic pots are suitable for gladioli.
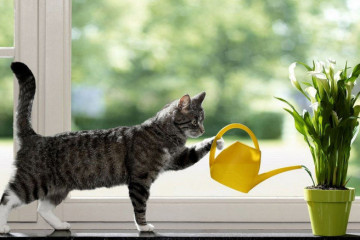
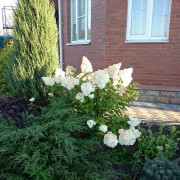
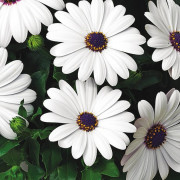
Picture 3. It will not be possible to tie a flower in a flowerpot
To make a clay pot of the desired diameter, you need a frame. Without it, it might just fall apart. The frame can be purchased at specialized stores. Then roll out the clay in a thin layer and cover the frame with it. Decor elements can be glued when the clay is dry.
Clay and ceramic pots, especially if a lot of them are needed to create a composition, can be quite expensive. But you can save money by showing imagination and decorate plastic buckets. There are a lot of design options: you can wrap with ribbons or beautiful fabrics, glue mosaics, decorative stones or fragments of ceramics. The main thing is to make drainage holes in the bucket.
Pot reuse and planting
Transplanting gladioli is very difficult due to the branched root system. If a transplant is necessary, then it must necessarily be carried out into the soil with a different composition. For gladioli grown in alumina, it is better to choose sandy loam soil.
The same rule must be followed when reusing containers. The land must necessarily be of a different composition.
The container itself must be thoroughly rinsed. Clay and wood can accumulate pathogenic bacteria from previous plants, just like soil. For reuse, the container must be prepared as follows:
- throw out everything that was inside;
- thoroughly clean the walls with a stiff brush;
- wash the pot with soapy water or a special antibacterial agent outside and inside;
- dry.
Once dry, it can be reused to plant gladioli.
If the container is broken or broken, then it can be saved with super-glue. Of course, the appearance will suffer from this, but then the transplant will not be needed. Clay containers can be repaired by pouring sugar syrup into the crack. It will reliably glue the fragments together and will soon acquire a similar color.
Gladioli in pots on the balcony
The balcony is also suitable for growing miniature varieties of gladioli. March and April are great times to plant bulbs. For them, you need to take the brightest place and open the window in warm weather. You need to water three times a week, then loosen the ground. It will not be superfluous to periodically fertilize with peat or humus. You can alternate organic and mineral dressings
Bulbs
At the end of September, you need to start preparing the flower for planting:
- Stop watering for about 10 days.
- Carefully remove the plant with the bulb.
- Cut off the stem, leaving a small stump.
- Peel the ground from the onion.
- Dry for about two weeks.
- Store in a cardboard box in a cool place throughout the winter.
Thus, potted gladioli look great. And planting and caring for them is not as laborious as it might seem at first glance. The main thing is to choose the right varieties and pots so that the growing bulbs are not cramped.