Why calla lilies don't bloom at home or outdoors
Content: [Hide]
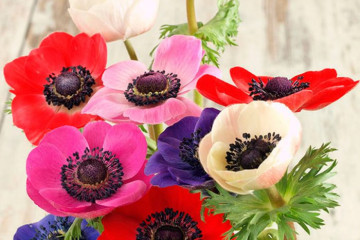
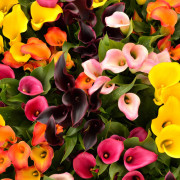
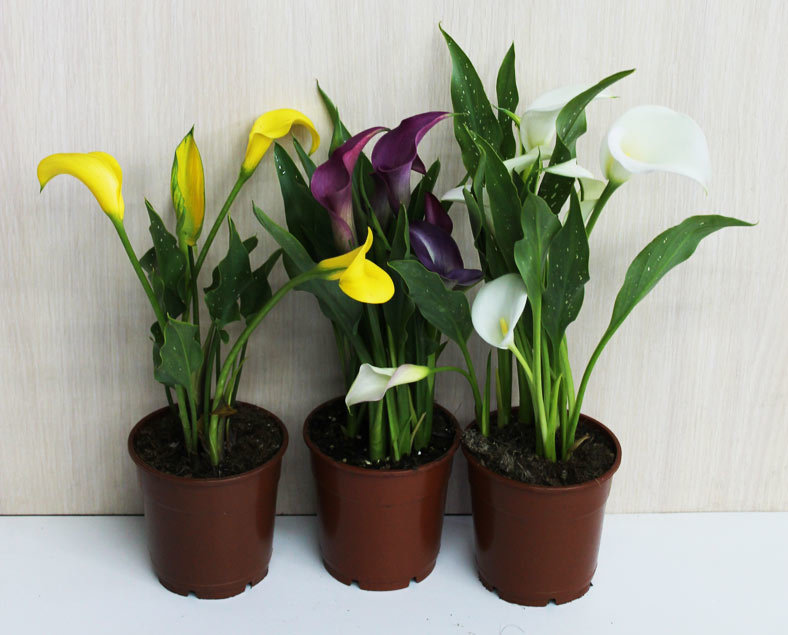
Calla is one of the most elegant domestic flowers, with a laconic appearance and white, pink, purple, crimson or purple bud colors. Therefore, the problem of why calla does not bloom at home is of particular concern to gardeners. The reasons for this behavior may be different circumstances. Some of them cannot cause much harm to the plant, but there are also those that are fatally dangerous for the bush.
Why calla lilies don't bloom
The flower's habitat is the tropical forests of America and East Asia, therefore, in more severe latitudes, problems may arise when growing it in the open field. In indoor conditions, with proper care, calla lilies can bloom all year round, interrupting for the winter. However, sometimes the plant does not bloom. As a rule, the reason lies in improper care and unfavorable conditions of detention.
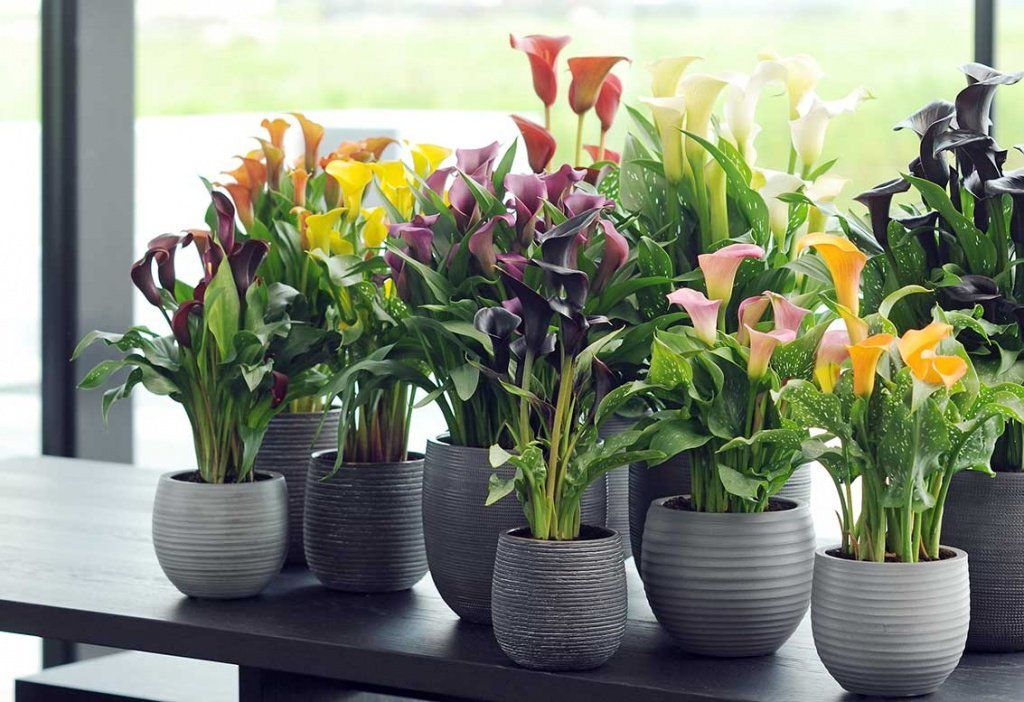
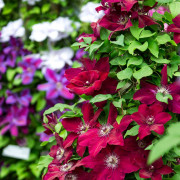
Calla has an elegant decorative appearance
At home
If the culture is grown indoors, the reason why calla does not bloom may be inappropriate temperature conditions. The shrub needs a warm room. Sudden changes and drops in temperature negatively affect the normal development of the flower.
Common reasons why calla does not bloom:
- Insufficient humidity in the room. Its performance should be above average. To increase the humidity in dry air, it is necessary to spray the plant more often with a spray bottle.
- Improper feeding or irregular feeding. The high nitrogen content during the growing season helps the calla grow leafy rather than setting buds.
- Lack of transplants, especially in the early years of flower growth. This provokes a stop to the flowering and development of calla lilies in general. The root system grows, and it becomes cramped in the pot.
- Lack of natural light. Because of this, photosynthesis and other natural processes in plant cells are slowed down.
Outdoors in the garden
Most of the reasons why calla lilies do not bloom in an apartment are indirectly related to the problems of growing a flower in an open field. Wrong seat selection and mistakes in landing or transferring are the most common problems.
- Often, an infection gets through infected garden tools, which provokes the appearance of diseases. Poor-quality planting material also affects the impossibility of setting buds.
- If you water the shrub incorrectly or use hard and cold water for this, you can not only not wait for flowering, but also completely destroy the flower.
- During the growing season, the culture needs additional feeding. When choosing a place for a flower, you should beware of alkaline soil, you need to oxidize it with humus or rotted manure.
- Often, after reproduction by vegetative methods, calla does not bloom. There is a high probability that mechanical damage to the root system or shoots was caused.
- It is worth paying attention to the age of the shrub, perhaps it is still young to bloom.
There are many reasons why calla lilies do not bloom.
Factors provoking the lack of flowering
- Lack of natural light.
- Lowering the required temperature or its sudden changes.
- Lack of moisture in the soil.
- Dry air.
- A cramped pot, causing the roots to weaken.
- Lack of transplants and replacement of soil in a pot.
- Incorrect dosage of mineral fertilizers, lack of nutrients in the soil.
- The appearance of pests and diseases.
How to make calla lilies bloom
It is not always easy to make calla lilies bloom again, especially if the reason for this behavior has been incorrectly identified. So that the problem does not arise even at the stage of planting the plant, it is necessary to choose a pot that is suitable in size. Its volume in diameter should be 5-7 cm larger than a well-spread root system of the bush.
Planting equipment must be soaked in a disinfecting solution, and garden tools must be disinfected. It is necessary to study how calla lilies reproduce in advance, because during the procedure, both the bulbs and the shoots of the bush can be damaged in a vegetative way.
Ensuring proper watering
Calla requires abundant and frequent watering. During the active period, the flower is watered 2-3 times a week. In the fall, watering should be reduced gradually. By the end of September, the bush is watered twice a week, then once. The same number of times they continue to carry out the procedure until the onset of spring.
Watering calla lilies with tap water is a big mistake. It is tough in composition, as it contains chlorine and other harmful chemicals. Also, you cannot use cold or hot liquid. You can use rain or melt water, but if this is not possible, it is necessary to let the tap liquid settle for at least 4 hours. Only then can you thoroughly water the bush with it.
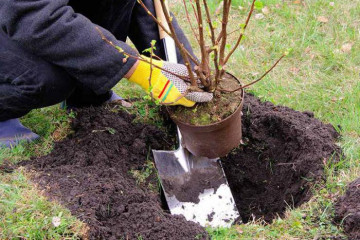
It is recommended to transplant a bush into a new pot in the spring.
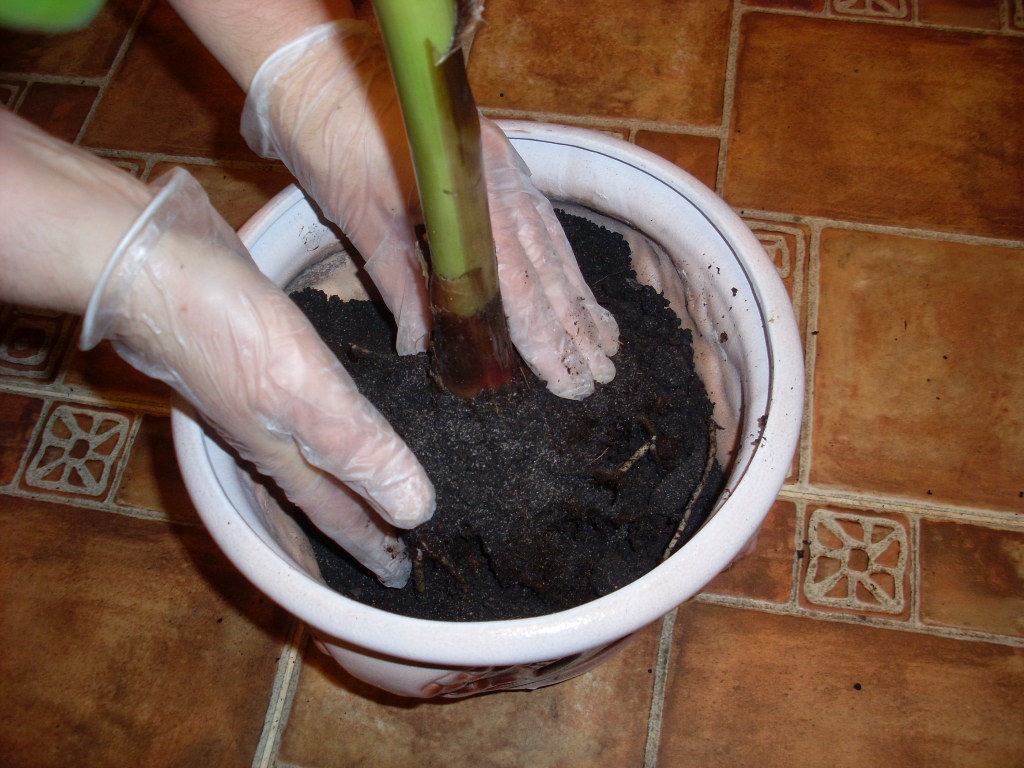
Transferring calla lilies to a spacious pot
Calla will grow well and bloom on time if it is transplanted into a properly selected container. It is necessary to repot the plant as soon as it grows in size and the old pot becomes cramped for it.
Phased transplantation into a new container:
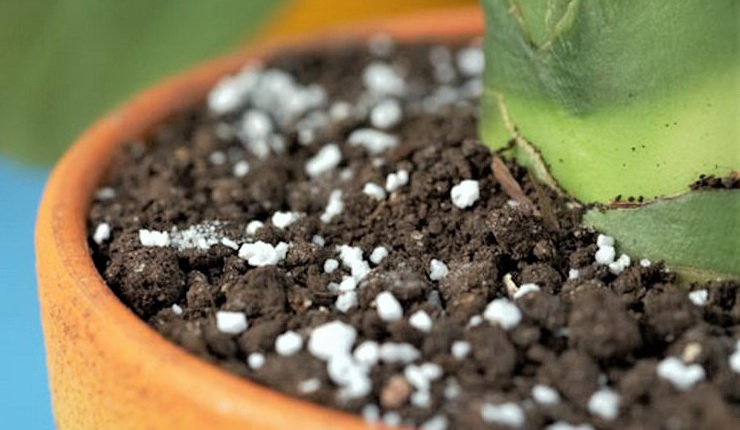
- First you need to take care of drainage, as calla lilies are very fond of wet soil. At the bottom of the container, expanded clay crumbs or small pebbles are poured so that excess water cannot stagnate in the soil.
- A nutritious and loose soil mixture is prepared from light turf soil, river sand, humus and Superphosphate.
- The drainage is covered with a small layer of substrate and leveled.
- A seedling is placed in a container and covered with earth.
- Lightly press down with your hand and water the soil around the trunk circle.
- Mulch it with sawdust or pebbles slightly larger than drainage.
Providing a dormant period for calla lilies
If the calla is not allowed to rest in winter, then it most likely will not bloom in the time allotted to it. Sometimes the flower itself does not leave for the winter, but instead continues to bloom. You should not be happy about this behavior, because buds should not be allowed to bloom in winter. Every autumn, after applying the last fertilizer for the season for garden calla lilies, it is necessary to give it a rest until spring comes. If the plant does not retire, it must be done forcibly.
First, you need to gradually reduce the temperature and watering the bush. In the last months of autumn, reduce lighting and move the bush to a dark place. The temperature of the plant during wintering should be no more than 18 ° C.In this state, it should be at least 1.5 months, in the spring you need to fertilize calla with organic matter, starting life processes.
Calla lilies can be fed not only with liquid, but also with granular fertilizers.
Increasing the amount of feeding
Before puzzling over the question of how to feed calla lilies for abundant flowering, you need to find out what fertilizers generally need to be used as top dressing. These are complex mineral preparations rich in phosphorus, nitrogen, iron and potassium. Closer to the set of buds, the content of nitrogen and iron must be excluded from fertilizers.
In order not to have problems in growing calla lilies, it is better to avoid mistakes in care.
Calla lilies do not always bloom profusely and in a timely manner. There are many reasons for this behavior, but most growers believe that the problem is a lack of fertilizer. Nevertheless, you need to familiarize yourself with all the reasons, as improper treatment can damage the flower even more. To completely avoid such problems, it is worth taking care of the flower in a timely manner and avoiding mistakes.